

A solar simulator is bought once and trusted for a decade or more. Every module it rates becomes a number in a contract, a bin on a production line or a value in a certificate. The checklist below is the one our application engineers walk through with laboratories and manufacturers before a system is specified.
1. Start from the devices you measure
List the technologies (PERC, TOPCon, HJT, IBC, perovskite, tandem, thin film), the largest module format and whether the modules are bifacial. Capacitive technologies decide the pulse you need, the module format decides the test area, and bifaciality decides how the rear side is handled. See the best solar simulator for TOPCon.
2. Check the pulse, not only the lamp
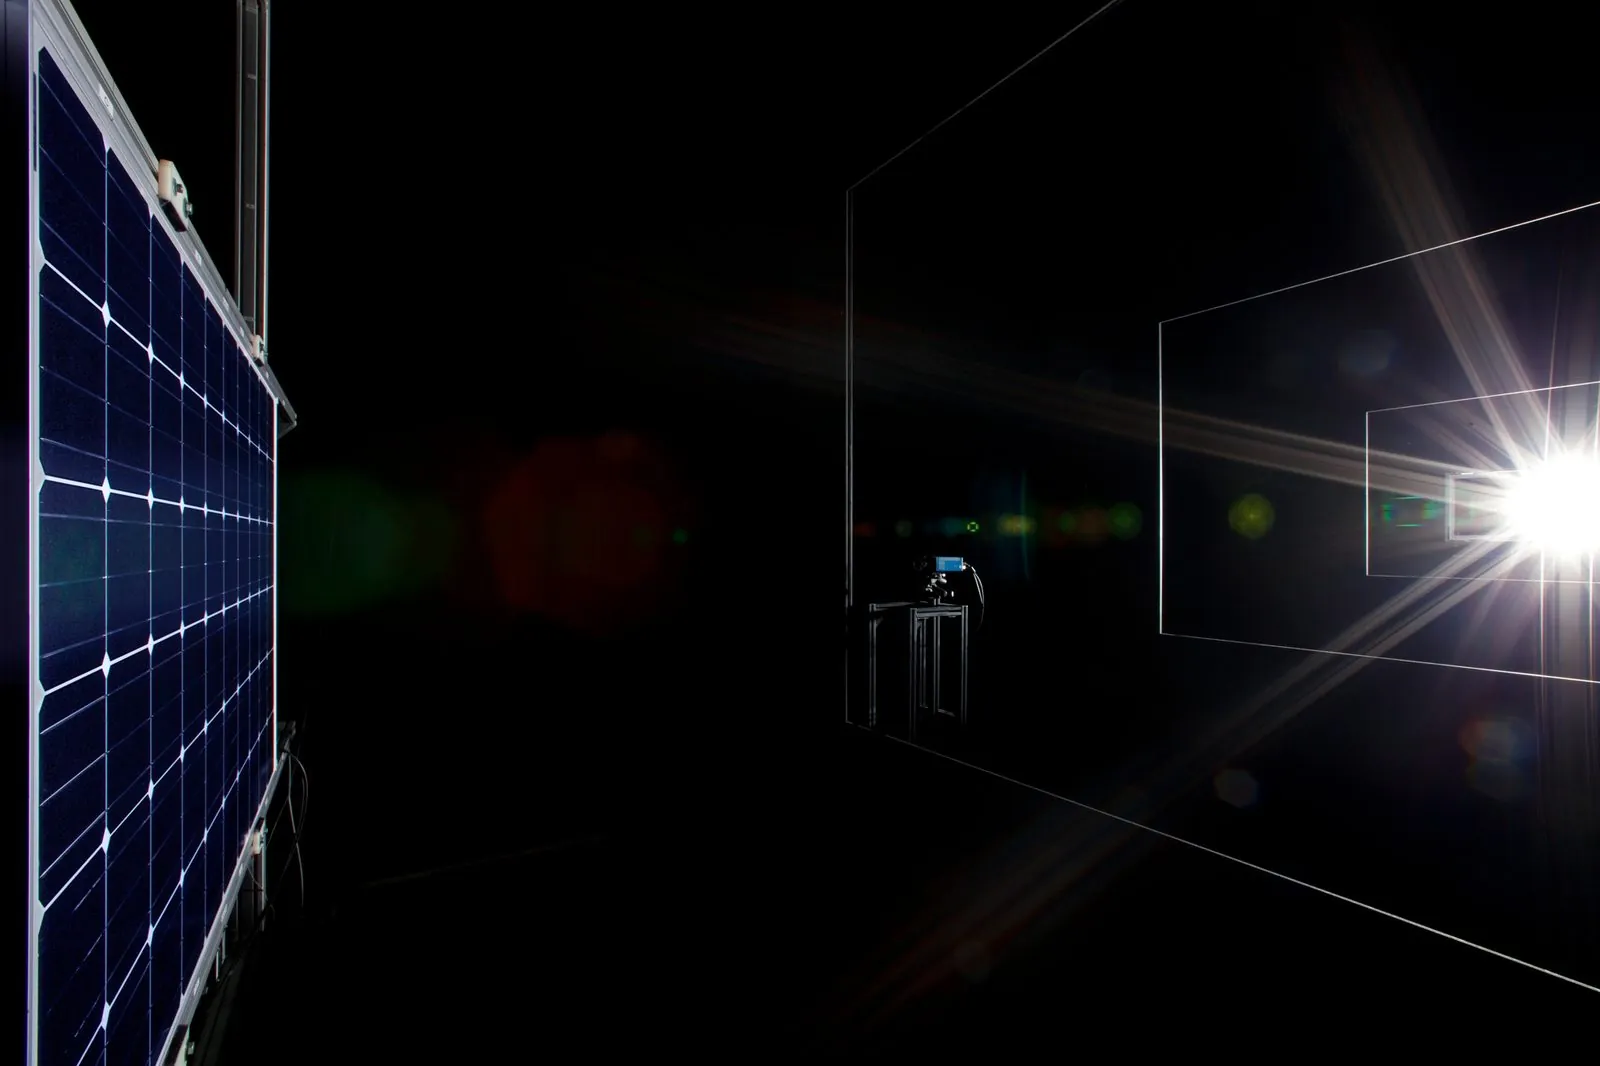
High-efficiency cells store charge. Ask for the plateau length and its stability, and for forward and reverse sweeps on a capacitive reference module. A 40 to 100 ms plateau, as on the HighLIGHT 100ms, lets TOPCon and HJT settle before the curve is taken.
3. Read all three class letters, and the edition
A class such as A+A+A+ grades spectral match, spatial non-uniformity and temporal instability separately. Ask which edition of IEC 60904-9 the report follows: edition 3 extends the range to 1200 nm and adds SPC and SPD. See IEC 60904-9 explained and what changed in edition 3.
4. Ask for the uncertainty budget, not just the class
Two simulators with the same class can contribute very different uncertainty to Pmax. Ask for the calibrated budget and how each term was obtained. See how to read a solar simulator uncertainty budget.
5. Follow the traceability chain
Every measurement should trace back to the SI through an unbroken chain: reference cell, calibration laboratory, national metrology institute. Pasan systems are traceable to METAS, the Swiss federal metrology institute, under ISO/IEC 17025, and the WPVS transimpedance amplifier keeps the reference-cell link free of shunt drift.
6. Match the test area and the cycle time
Size the test area for the largest module you will ever rate, and the cycle time for your line. On a production line, ask how the line flasher correlates with your reference laboratory.
7. Plan the rest of the chain
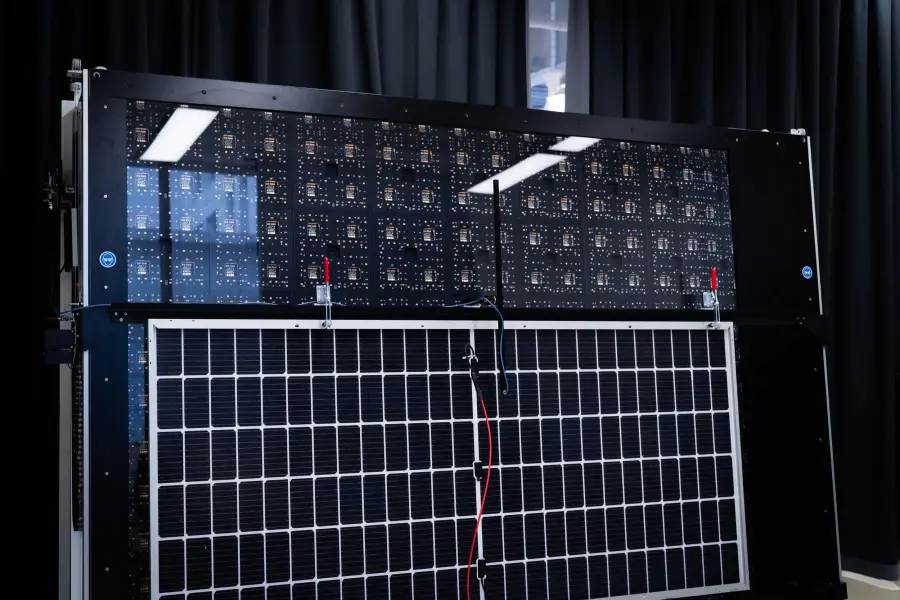
- Stabilisation before rating: LED Light Soaker (IEC 61215 MQT 19).
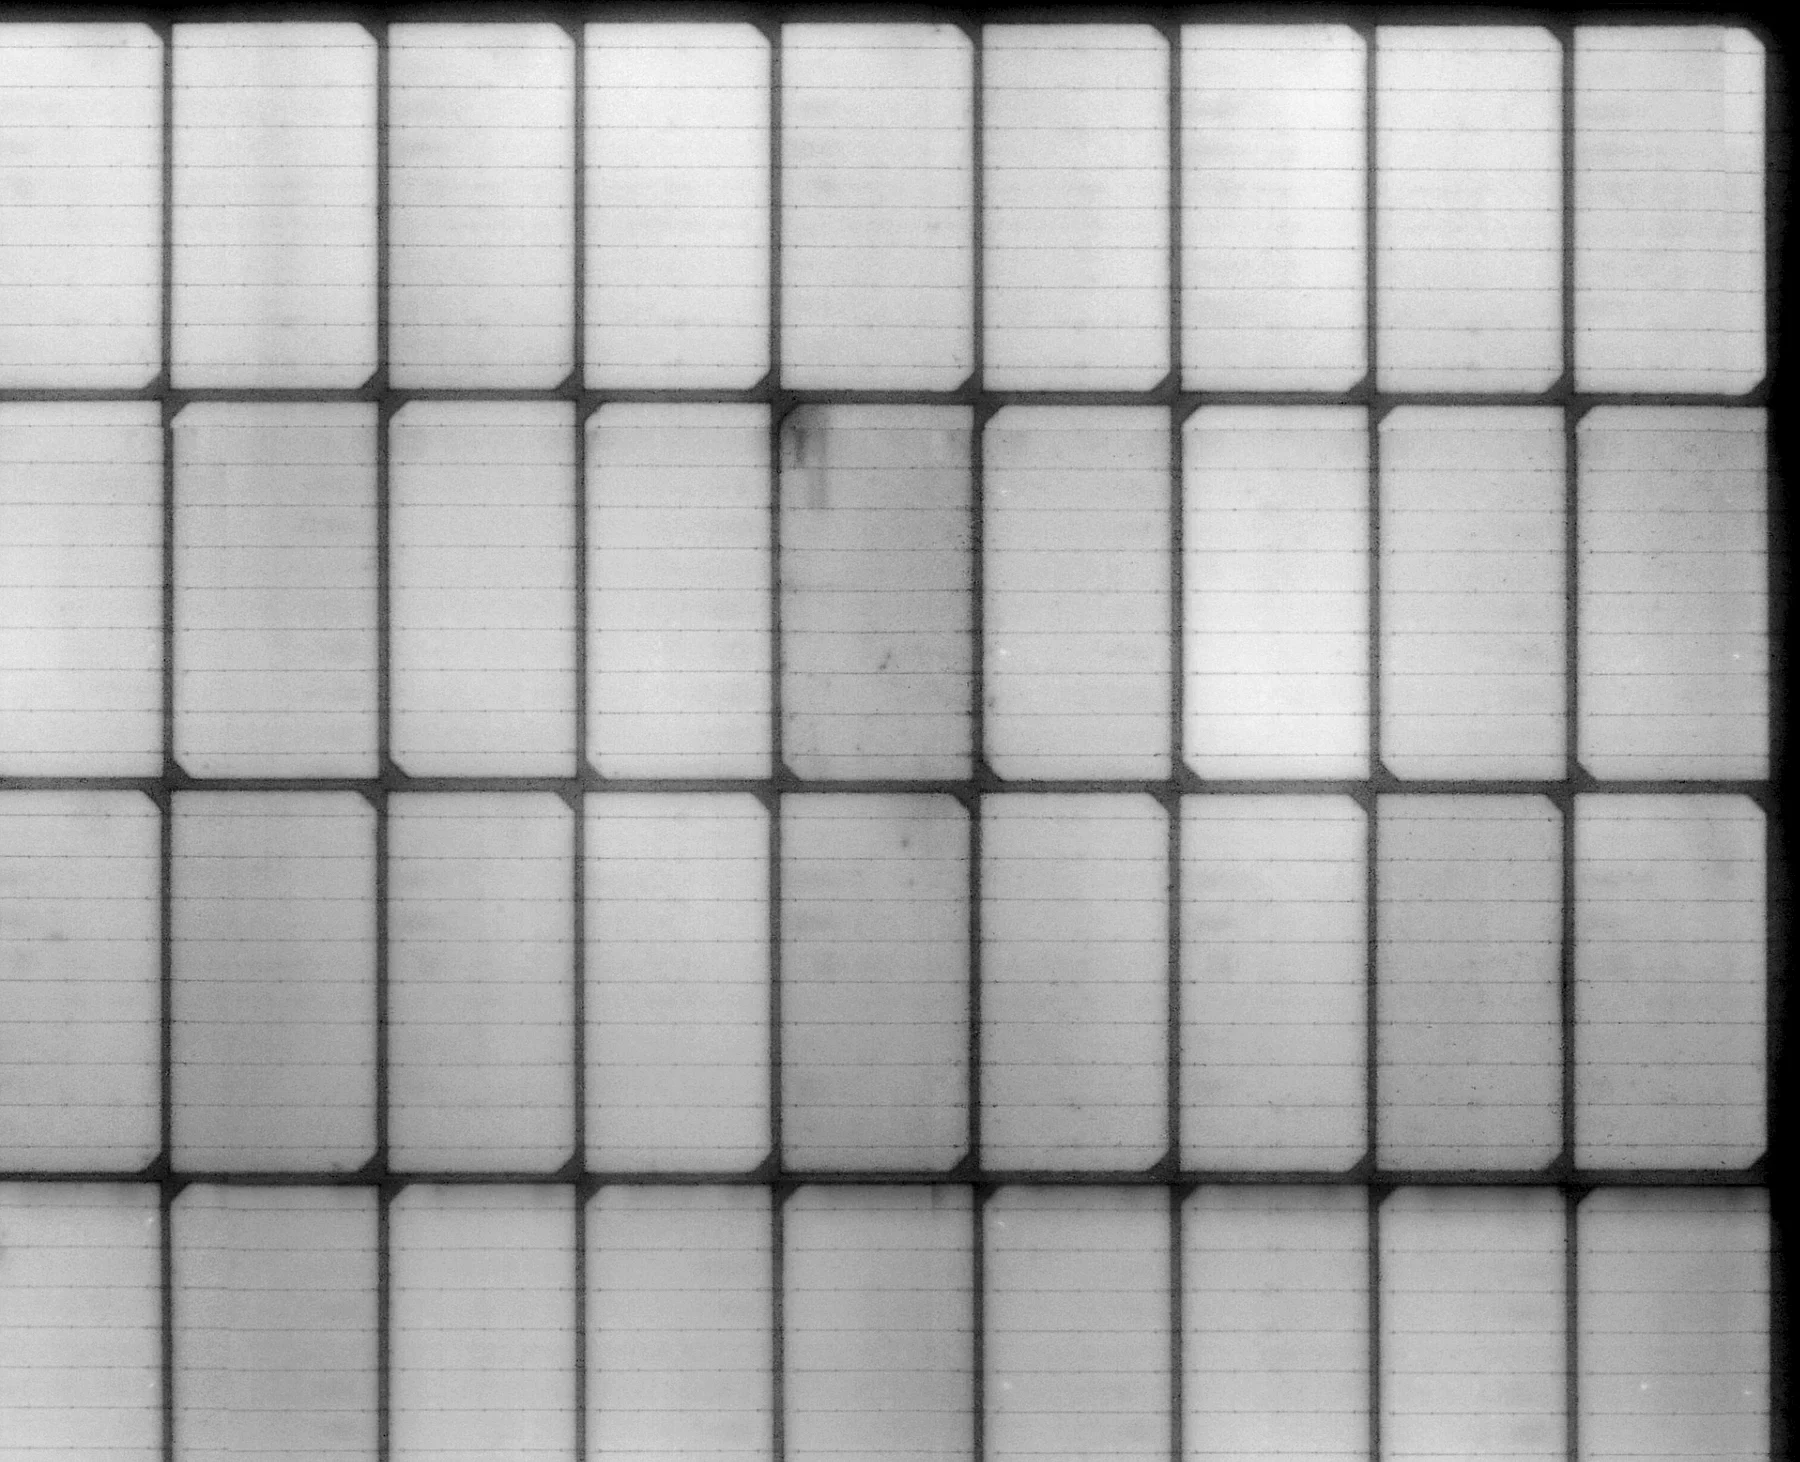
- Defect imaging on the same contact: EL Inspection.
- Temperature coefficients: Thermal Chamber.
- Angular response for energy yield: IAM.
- Your own spectral class checks: Spectral Response Kit.
8. Look at the software and the data
Ask how measurements are stored, exported and traced to a module serial, and whether results can be shared with customers and auditors. Pasan systems run PVStudio and sync to Pasan Cloud.
9. Check acceptance testing
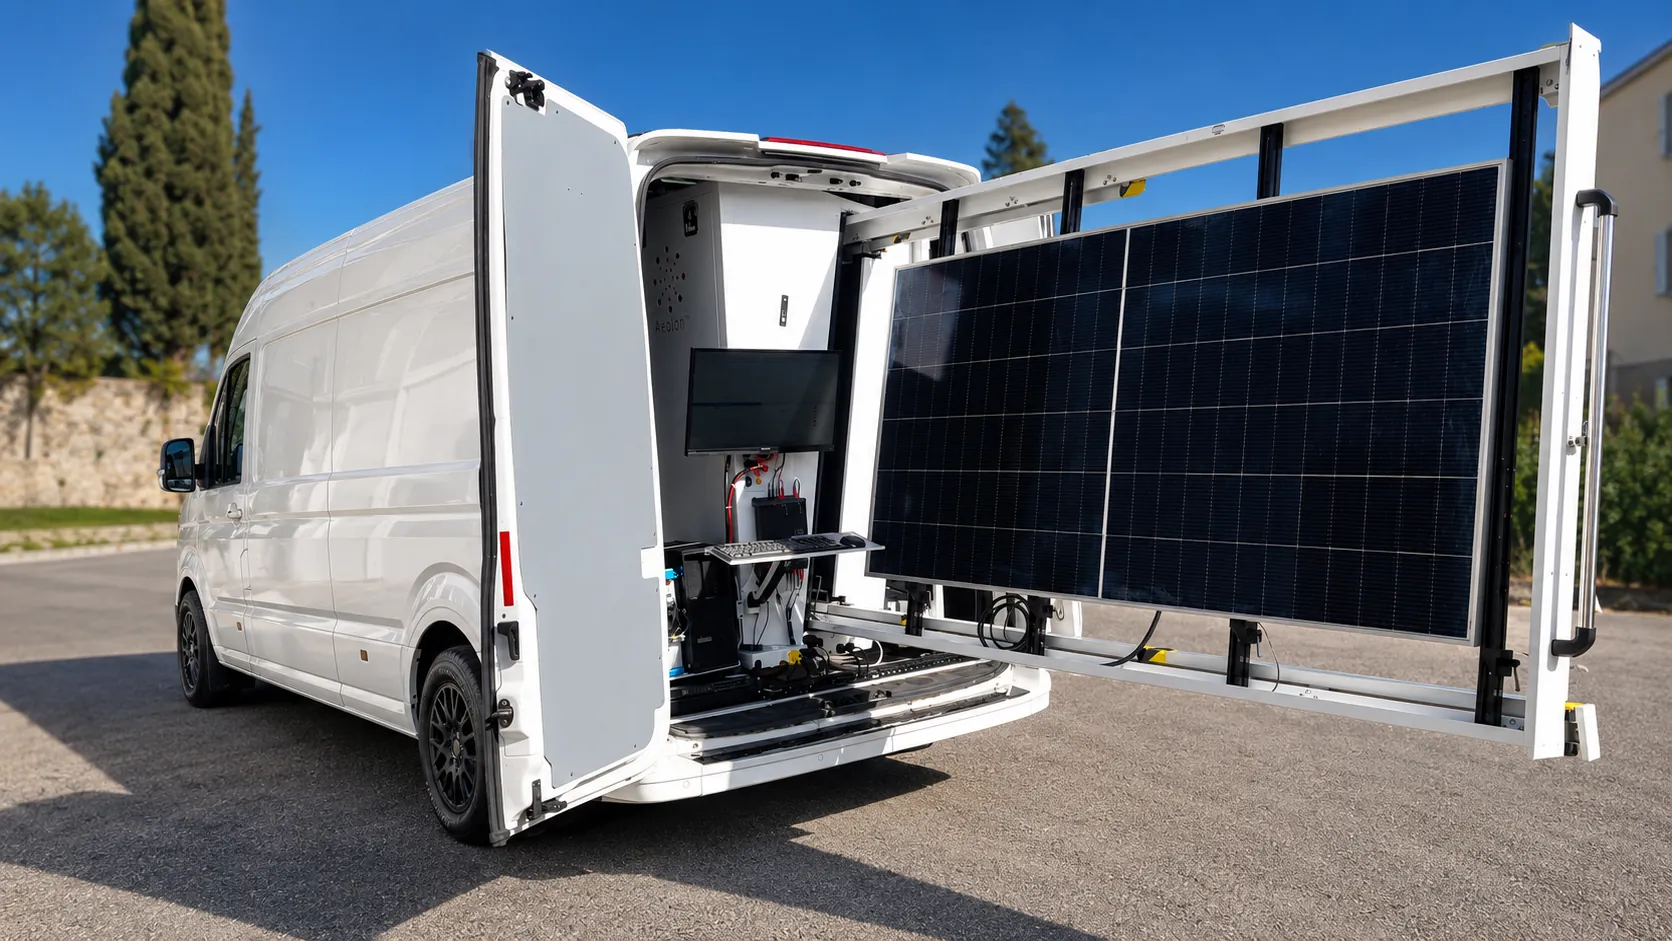
A specification is only as good as its proof. Ask for a factory acceptance test before shipping and an on-site acceptance test that classifies the system on your floor.
10. Think fifteen years ahead
Recalibration, spare parts and support decide what the instrument is worth in year ten. Ask where service comes from, how fast, and whether delivery and spares depend on export licences. See supply-secure Swiss PV metrology.
Frequently asked questions
- What should I check first when choosing a solar simulator?
- The devices you need to measure. Their capacitance sets the pulse length you need, their format sets the test area, and bifaciality sets how the rear side must be handled.
- Is the IEC 60904-9 class enough to compare solar simulators?
- No. Read all three class letters and the edition of the standard, then compare the calibrated uncertainty budget for Pmax: two simulators with the same class can contribute very different uncertainty.
- What else does a PV measurement lab need besides a flasher?
- Typically light soaking for stabilisation, EL imaging for defects, a thermal chamber for temperature coefficients, angular-response measurement for energy yield, and a way to verify the spectral class on site.